Coffee Scales for Espresso: Do You Actually Need One?

Home › Guides › Coffee Scales

Barista Guide · Accessories

Coffee Scales for Espresso: Do You Actually Need One?

A scale is the cheapest upgrade that makes espresso repeatable, and the one most home setups skip. This guide covers the two numbers that matter, why a timer alone drifts, what separates an espresso scale from a kitchen scale, and how to use one without slowing your morning down.

0.1gthe resolution to look for
2numbers that matter
1:2a common starting ratio
Weightvolume lies, weight doesn't

1. The case for weighing

Espresso is a ratio. You put in a weight of dry coffee and you take out a weight of liquid, and the relationship between the two — along with the time it takes — is most of what determines how the shot tastes. If you are not measuring either number, you are not adjusting anything; you are guessing and hoping.

The usual objection is that a timer is enough. It is not, and the reason is drift. Beans lose density as they age, so a grinder set to run for a fixed time delivers a different weight in week three than it did in week one. Burrs wear. Humidity changes how coffee flows through the chute. All of that is invisible to a timer and obvious on a scale.

Coffee scales for espresso and pour over brewing
Two numbers turn espresso from guesswork into something repeatable: the dose going in and the yield coming out.

2. The two numbers that matter

Dose is the weight of dry coffee in the basket. Yield is the weight of liquid espresso in the cup. The ratio between them is the shot's shape.

A common starting point for a modern espresso is a ratio somewhere around 1:2 — roughly double the weight out that you put in — pulled in the region of 25 to 30 seconds. Tighter ratios give a heavier, more concentrated shot; longer ratios give a lighter, more extracted one. None of those numbers are rules, and the right ones depend on your beans, your roast level and your taste. What matters is that you know what you did, so that when a shot is excellent you can make it again.

Weigh the output, not the volume. Crema volume varies enormously between fresh and rested coffee, so a shot that looks the same in the cup can be a very different weight of liquid. Volume lies; weight does not.

3. What separates an espresso scale from a kitchen scale

A kitchen scale will get you started, and it is much better than nothing. But there are four differences that matter once you are weighing shots rather than flour.

  1. Resolution. Espresso needs 0.1g readings. A 1g kitchen scale cannot tell an 18.0g dose from an 18.9g one, and that difference is visible in the cup.
  2. Response speed. Espresso arrives fast. A slow scale lags behind the pour and you overshoot your target yield every time.
  3. Footprint and height. The scale has to fit in the drip tray under the group, with a cup on top. Many kitchen scales are simply too tall or too wide.
  4. Water resistance. It will get splashed. Repeatedly. Espresso scales are built expecting that; kitchen scales are not.
⭐ The bar standard
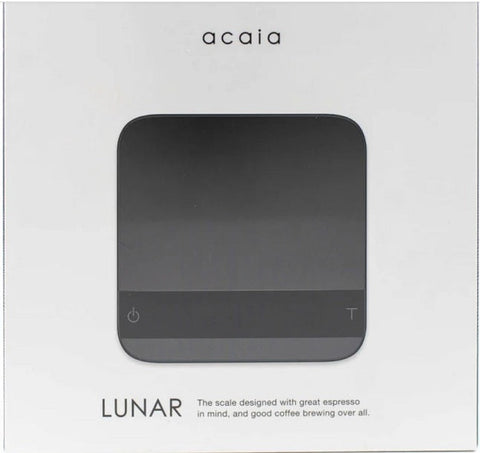
Acaia Lunar espresso scale in black

Acaia Lunar

Espresso scale · 0.1g resolution · compact drip-tray footprint

The Lunar is what you see in a large share of specialty bars, and the reason is fit: it is built specifically to live in a drip tray, take splashes daily, and respond fast enough to keep up with a shot. If you want the reference and intend to keep it for years, this is it.

✓ Strengths

  • Fast response, built for espresso timing
  • Designed to sit in the drip tray
  • Built to take daily splashing

⚠ Consider

  • A premium over general brewing scales
  • More scale than a casual home setup needs

Best for: Cafes, and home baristas who weigh every shot.

View & Buy →
⭐ Best all-rounder
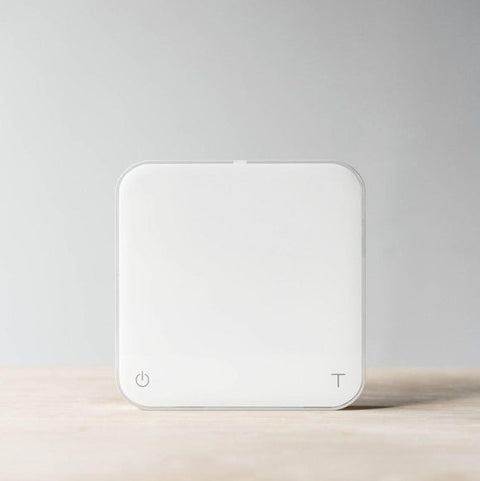
Acaia Pearl S brewing and espresso coffee scale in white

Acaia Pearl S

Brewing and espresso · 0.1g resolution · larger platform

A larger platform makes the Pearl the better choice if you brew pour over and filter as well as espresso, since it will take a full brewer and carafe. Same accuracy, more versatility, slightly less suited to living permanently in a drip tray.

✓ Strengths

  • Handles espresso, pour over and filter
  • Large enough for brewers and carafes
  • 0.1g resolution across the range

⚠ Consider

  • Bigger footprint than a dedicated espresso scale
  • Overkill if you only pull shots

Best for: Anyone brewing more than one way.

View & Buy →

Weighing your shots for the first time?

We will match a scale to your machine, your drip tray clearance and how you actually brew.

Shop Coffee Scales Get Expert Advice

4. Do you need a built-in timer?

Most espresso scales include an auto-start timer that begins counting when the first drops land. It is genuinely useful, because it frees your hands and removes the "did I start the timer" problem. But it is a convenience, not the point. The weight is the point.

If you are choosing between a scale with 0.1g resolution and no timer, and a scale with a timer and 1g resolution, take the resolution every time.

⭐ Best value for a first scale
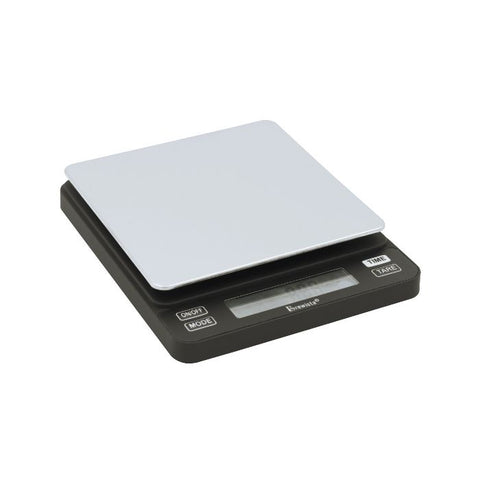
Brewista Smart Scale II espresso and brewing scale

Brewista Smart Scale II

Espresso and brewing · 0.1g resolution · auto-start timer

A capable scale at a fraction of the outlay of the reference models, with the two features that actually matter: 0.1g resolution and a timer that starts itself. If you are moving off a kitchen scale, this is a sensible landing point.

✓ Strengths

  • 0.1g resolution and auto-start timing
  • Compact enough for most drip trays
  • Considerably less than the premium options

⚠ Consider

  • Not as fast to settle as the top tier
  • Build is lighter than bar-grade scales

Best for: First-time buyers upgrading from a kitchen scale.

View & Buy →

5. How to use one, in practice

  1. Put the empty portafilter on the scale and tare it.
  2. Grind into the basket and check the dose. Adjust until you hit your target consistently, not just once.
  3. Distribute, tamp, and lock in. Our tamper guide covers this step properly.
  4. Put the cup on the scale under the group and tare again.
  5. Start the shot and watch the yield. Stop at your target weight rather than at a fixed time.
  6. Write down dose, yield and time. Three shots of notes will teach you more than a month of guessing.

Once the numbers are stable, the rest of the setup starts making sense: a grind adjustment becomes a deliberate change with a measurable result rather than a shot in the dark. If your grinder cannot hold a dose consistently, that is worth solving too — see our grinder buyer's guide.

6. Looking after it

Scales are electronics living in the wettest part of your bench. Wipe the platform after every session, never submerge it, and lift it out before you clean the drip tray rather than working around it. If it starts drifting or reading unstably, check the feet are clean and the surface is level before assuming it has failed — a coffee ground trapped under a foot is the most common cause of a scale that will not settle.

Frequently asked questions

Do I really need a coffee scale for espresso?

If you want the same shot twice, yes. Espresso is a ratio of dry coffee in to liquid espresso out, and neither number is visible without weighing. Timing alone drifts, because beans lose density as they age and burrs wear, so a grinder set to a fixed time delivers a different dose from week to week. A scale turns adjustments into something measurable.

What resolution should a coffee scale have?

0.1g. A 1g kitchen scale cannot distinguish an 18.0g dose from an 18.9g one, and that difference is noticeable in the cup. Alongside resolution, look for fast response so the reading keeps up with the pour, a footprint that fits in your drip tray under the group, and enough water resistance to survive daily splashing.

Can I use a kitchen scale for espresso?

You can start with one, and it beats not weighing at all. The limitations show up quickly: most kitchen scales read to 1g rather than 0.1g, settle too slowly to track a pour, are often too tall or wide for a drip tray, and are not built to be splashed every day. It is a fine stopgap and a poor long-term answer.

What espresso ratio should I start with?

A common starting point is around 1:2 - roughly twice the weight out as the dry weight in - pulled in the region of 25 to 30 seconds. Treat that as a reference rather than a rule: tighter ratios give a more concentrated shot, longer ratios a lighter one, and the right numbers depend on your beans and your taste. The value is in knowing what you did so you can repeat it.

Leave a comment